Sunday, April 30, 2017

Perfecting the Sour Cream Rye recipe

My intention was to try the simplified two-step process with the sour cream rye recipe that I made a few weeks ago.  This was also going to be my first weekday sourdough loaf.  Yes, I have a day job.  I set my starter to refresh overnight and prepared the rest of the ingredients in the bread pan with the intention of preparing the sponge the next morning and adding it to the top of the other ingredients.  Then, I would set the delay timer to create a finished product in about 12 hours. 

The next morning, however, I figured, "WTH?  I'll be home from work in time to start the bread machine on a normal cycle and be there to monitor the progress if I need to add water." So, I just prepared the sponge as usual and combined it with the rest of the recipe after it had grown for 8 hours.  In the end, there was enough water in the recipe so that my two-step process would have worked.

What I didn't have enough of, though, was rye flour.  The recipe calls for 2 cups, and I only had about 1½ cups.  I made up for the shortage with white flour.  My whole recipe, then, was

Sour Cream Rye Bread, Take 2
Remove 4 oz. of starter.  Add 4 oz. of white flour and 4 oz. of water.  Set in a warm place for about 6 hours until it doubles in size.  Then, add
Sour Cream
½ Cup
Vegetable Oil
2 Tbl
Sugar
2 Tbl
Salt
1 tsp
Caraway seeds
1 Tbl
Vital gluten
1 Tbl
Rye flour
 Cups
White bread flour
2  Cups
Water as needed
5 oz.

Since I was home for the mixing cycle, I peeked inside.  The dough formed a nice ball


It hadn't picked up every last bit from the corners, but there was still plenty of time left in the mixing cycle.  The dough ball looked good, so in retrospect, I could use this recipe in a two-step processes.

The loaf rose better than I was anticipating for a recipe that has so much rye flour in it.


It had that break-away pompadour look that I am coming to expect from rye bread.  It is also quite heavy.  As before, it tastes great.

Next, white sourdough.

Saturday, April 22, 2017

Simplification

This week, I am going to take one of my successful recipes and try to streamline the process.  So far, my process is:
  1. Refresh the starter by discarding half and adding 4 oz. (¾ cup) of flour and 4 oz. (½ cup) of water.  Put that in a warm place for 6-8 hours.
  2. Prepare the sponge for me new loaf.  Put that in a warm place for 6-8 hours.
  3. Combine the ingredients in my bread machine and press "Start."
Now, one of the first two steps can run overnight, but for the other, I need to be home at the start and end of the 6-8 hour growth phase.  This week's experiment is to try letting the sponge grow on top of the rest of the ingredients in the bread pan.  I'll set the bread machine on the delay timer so that the sponge gets its 6-8 hours of development time. Then, the machine will start mixing automatically.  I hope to come home or wake up to a fresh loaf of bread.

I'm in the mood for a rye bread, but looking back at my last attempt, I think I'd like to be present for the mixing cycle to decide how much "as needed" water is needed.  Instead, I'll use the whole wheat recipe that I've been working on for some time.

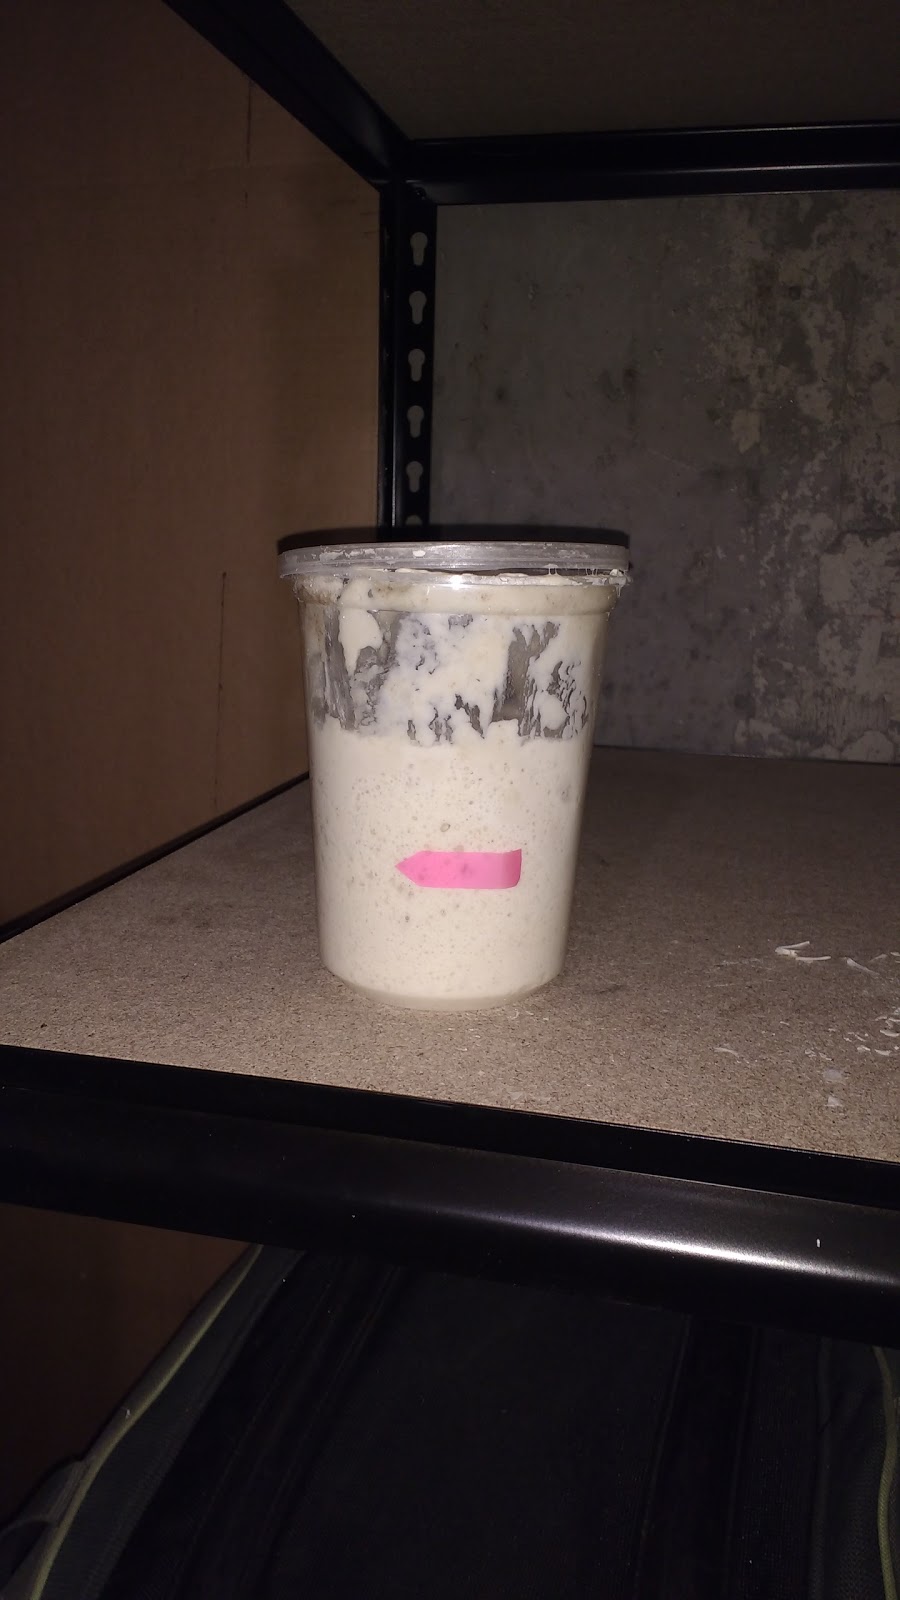
My starter is down in the happy yeast room, getting refreshed.  In the meantime, I am going to put the remaining ingredients in the bread pan.

Whole Wheat
Water
5 oz.
Whole wheat flour
2 ¼  cups
White flour
¼ cup
Vital Gluten
1 Tbl
Salt
1 tsp
Butter
1 ½ Tbl
Honey
¼ cup

The flour needs to go in last so that the sponge doesn't mix with the other ingredients until the bread machine starts mixing.  After the sourdough starter was poured on top of that mixture, my bread pan looks like this:

I set the timer to have a finished loaf in 12 hours.  The mix-rise-bake cycle is 3 hours and 40 minutes, so that leaves 8 hours and 20 minutes for the sponge to grow. Time for bed.

I woke up just before the mixing cycle started.  The sponge on top of the rest looked like this:


It's kind of hard to judge the activity with it spread all over.  After the first mixing cycle, the dough ball looked like this:


I was tempted to add a bit of water, but this is an experiment in turning a 3-step process into 2 steps.  Plus, it didn't look too bad.  During the second mixing cycle, it looked healthy, sticking slightly to the sides of the pan as the paddle spun it around.


At the end of that cycle, the dough even looked a little limp.  I'm convinced that it has enough water.


The result looked much like the 3-step loaf.
2-step loaf:


3-step loaf:


So, I'd call this experiment a success.

Friday, April 21, 2017

Perfecting the Whole Wheat Recipe, Take 4

I enjoyed my sour cream rye bread from last week.  Despite its heaviness, it made good sandwiches, and I especially liked it on its own as a piece of toast with butter or olive oil.

Now, I am going back to trying to get a better result from my whole wheat recipe.  I'm thinking that the sourdough sponge might need some fresh white flour to eat during the rising process, so I added ¼ cup of white flour.  The additional flour will need additional water.  I tried increasing from 3 oz. to 4, but that still left a lot of unmixed flour in the corners of the pan.  I added one more ounce, and got this nice looking dough ball.


It is stickier than I would like if I were kneading it by hand, but it should be fine in the bread machine.  It sticks a little bit to the sides of the pan as the paddle is kneading it.

Another change is that I've increased the vital gluten to 1 tablespoon.  Now, my recipe looks like this:

Whole Wheat
Preparation
The night before, discard all but 4 oz. of the starter from the fridge.  Add 4 oz. of water and 4 oz. of white flour.  Set in a warm place overnight.
Sponge
Take 4 oz. of the fed starter.  Add 4 oz. of white flour and 4 oz. of water.  Set in a warm place for 6 hours.
Place the remaining starter (unfed) in the fridge for next time.
Water
5 oz.
Whole wheat flour
2 ¼  cups
White flour
¼ cup
Vital Gluten
1 Tbl
Salt
1 tsp

Butter
1 ½ Tbl
Honey
¼ cup

The loaf still came out a little short
It's not much taller than Take 3 or Take2
It also had this weird light colored shell in the crust.


Still, it tastes really good.  I think I finished tinkering with this recipe.  It may never rise as high as the commercial yeast version, but it makes a tasty loaf of bread that is good for sandwiches or for toast.  I'm going to stick with it.

Next, I'm going to try to simplify the process so that it needs less interaction with the baker (me).

Sunday, April 9, 2017

Sour Cream and Sourdough

I'm taking a break from getting my whole wheat recipe right.  Today's effort is a recipe from the book.


I'm making the Sour Cream Rye recipe.  I'm using my new refresh technique of feeding the starter the night before and using the freshly fed starter in my sponge the next morning.  The recipe is


Sour Cream Rye Bread
Remove 4 oz. of starter.  Add 4 oz. of white flour and 4 oz. of water.  Set in a warm place for about 6 hours until it doubles in size.  Then, add
Sour Cream
½ Cup
Vegetable Oil
2 Tbl
Sugar
2 Tbl
Salt
1 tsp
Caraway seeds
1 Tbl
Vital gluten
1 Tbl
Rye flour
2 Cups
White bread flour
 Cup
Water as needed

Now that I've written it out, I'm thinking that I might have used just 2 tsp of sugar instead of 2 Tbl.  Well, it's baking as I write.  That could be an issue.

This recipe is quite different from the other rye bread recipe that I made in February.  That one had twice as much white flour as rye.  This one has more rye than white.  I'm expecting this loaf to be on the dense side.

Regarding the "water as needed," it needed a lot.  Before adding any water, my mix looked like this:
There's lots of crumbly clumps in there.  I added ¼ cup of water immediately, and started the cycle over.  After a repeat of the initial mix cycle with the extra water, the dough ball still seemed a little stiff


so, I added another ounce of water.  Now, the dough ball is a little on the sticky side which should help it rise.  It still seems coarse, which is probably due to the high rye-to-white ratio.


The loaf rose better than I was expecting, but it is still quite heavy.  The result was quite tasty and a couple of slices make a substantial breakfast.  It's almost like pumpernickel.  I would be good with corned beef.  Here it is next to my new standard of height, a can of liquid bread
.
It's still got that pompadour hair style when viewed from the other side


Overall, I'd say this is a success.  A few weeks later, I tried tweaking this recipe a little.

Saturday, April 1, 2017

Perfecting the Whole Wheat Recipe - Take 3

Last week's attempts to get the whole wheat recipe right were short of 100% successful.  I made a brick on SaturdaySunday's attempt was better, and in fact, edible, but still denser that I would like.  Today's attempt is only a slight tweak from last Sunday.

First, I fed my sourdough starter overnight.  That gave me an active starter that had never been refrigerated to make my sponge.  The only other change is that I am going to add 2 teaspoons of vital gluten to help the loaf rise.  I thought of adding a little more white flour to the final mix, but I want to just tweak this recipe a little at a time until I get it right.  The amount of vital gluten is a guess.  Some of my rye recipes use as much as 1 tablespoon  Some recipes use 2 teaspoons.  The box of vital gluten says to use 4 teaspoons, but they might be biased. 😀 I thought of trying just 1 to start, but I'd really like to have a success, today.  Two it is!

The whole procedure is

Whole Wheat
Preparation
The night before, discard all but 4 oz. of the starter from the fridge.  Add 4 oz. of water and 4 oz. of white flour.  Set in a warm place overnight.
Sponge
Take 4 oz. of the fed starter.  Add 4 oz. of white flour and 4 oz. of water.  Set in a warm place for 6 hours.
Place the remaining starter (unfed) in the fridge for next time.
Water
3 oz.
Whole wheat flour
2 ¼  cups
White flour
None
Vital Gluten
2 tsp
Salt
1 tsp
Butter
1 ½ Tbl
Honey
¼ cup

The starting point for my sponge:


That looks like a lot more than last week, but the bowl is smaller.  After six hours it grew to this:
The dough ball in the machine looked healthy.
Alas, the loaf of bread is still a little vertically challenged.  Here it is compared to last week's half-eaten loaf.  It's about the same size.
It tastes good and isn't a brick, but I'm still on a quest to make it taller and less dense.  Next week, I am going to try saving some of the white flour for the final mix.

Next, I am taking a break from the whole wheat quest and making a sourdough rye that uses a half cup of sour cream.

Sunday, March 26, 2017

Perfecting the Whole Wheat Recipe, Take 2

OK, yesterday's attempt was a failure.


My first thought was that my starter wasn't active enough.  I've been feeding it on half rations for the last couple of weeks, so that I don't need to throw anything away.  After making this short brick of a loaf, I immediately fed my starter with the full treatment of 4 oz. of water and 4 oz. of flour after discarding all but 4 oz. of the starter.  Six hours later, it grew just like it did in its youth.


That was just before going to bed, last night.  I think in the future, I am going to feed my starter before I prepare the sponge for my recipe, instead of feeding it while the sponge is growing.  That way, I have a lively starter to use with my recipe.  For today, the starter had been in the fridge overnight.  This morning, I took 4 oz. of the starter for my recipe, and just put the remains in the fridge without feeding it.  Next week, I'll do a feeding the night before I start my recipe.

The other change I am making is using an equal parts (by weight) of flour and water in my sponge.  I'm saving the remaining 3 oz. of water for the full recipe.  That keeps my sponge from being too limp, so I can see when it has doubled in size.  I marked the bowl for the starting point of my sponge, so I can judge its growth before continuing with the recipe.


This bowl shape makes deciding when the sponge has doubled in size a little difficult, but after 6 hours, it looks like this:


So, today's whole procedure is
Whole Wheat
Preparation
The day before, discard all but 4 oz. of the starter from the fridge.  Add 4 oz. of water and 4 oz. of white flour.  Set in a warm place for 6-8 hours.
Sponge
Take 4 oz. of the fed starter.  Add 4 oz. of white flour and 4 oz. of water.  Set in a warm place for 6 hours.
Place the remaining starter (unfed) in the fridge for next time.
Water
3 oz.
Whole wheat flour
2 ¼  cups
White flour
None
Salt
1 tsp
Butter
1 ½ Tbl
Honey
¼ cup

Well, this loaf is a little taller than yesterday's, but it's still about half as tall as I'd like. 


The loaf on the right is yesterday's.  Ideally, I'd like it to fill at least ¾ of the bread pad.  Today's loaf was just a little over half.  Perhaps the yeast need some fresh white flour to eat during the knead and rise cycle.  The dough ball still looked good during the mixing, so I think the water content is OK.  Maybe I'll try it with some vital gluten added.  I'm going to try one more ounce of water, as well.  When I was perfecting the commercial yeast version of this recipe, I reduced the water because the dough was rising too much and falling back.

Another thought is to just punt and give up on adapting this recipe for sourdough.  It worked so well with commercial yeast before I got on this sourdough kick.

I think this loaf is edible.  Check back in a couple of days once I've had a chance to make a couple of sandwiches.

Update: Yes it makes a decent sandwich.  I'd still like it to be lighter.

Next: Take 3

Saturday, March 25, 2017

Perfecting the Whole Wheat Recipe

Last week, I tried tweaking my whole wheat recipe.  The dough turned out too stiff, and the bread didn't rise well enough.  It came out very dense.


I think that there wasn't enough water.  The previous recipe had me adding ¼ cup of white flour and a few ounces of water when I was preparing the dough recipe.  This week, I am going to incorporate all of the water and white bread flour into the first step of preparing the sourdough sponge.

First up, I start with 4 ounces of sourdough starter from the fridge.  I feed my sourdough starter with equal parts of water and flour by weight.  Thus, this amount of starter contains 2 ounces of water and 2 ounces of flour.  My original recipe calls for 9 ounces of water and 1¼ cups of white bread flour.  I convert the flour measurement to weight by simply weighing 1¼ cups of flour.  I came up with 6 ounces.  So, I need 9 ounces of water and 6 ounces of white flour.  The sourdough starter gives me 2 ounces of each, so I need to add 7 ounces of water and 4 ounces of flour.  Mix that up and set it in the warm spot for 6 to 8 hours.

Now, my recipe looks like this:

Original recipe
Whole Wheat
Sourdough starter
None
Take 4 oz. of starter from fridge.  Add 4 oz. of white flour and 7 oz. of water
Water
9 oz.
Already in the sponge
Whole wheat flour
2 ¼ cups
2 ¼  cups
White flour
1 ¼ cups
Already in the sponge
Salt
1 ½ tsp
1 ½ tsp
Butter
1 ½ Tbl
1 ½ Tbl
Honey
¼ cup
¼ cup
Yeast
2 ½ tsp
Already in the sponge

This method produced a pretty good dough ball without any adjustments.  I didn't even need to scrape any ingredients away from the side of the pan as it  worked on its mixing cycle.  Perhaps that is a good indicator of when I have enough water.


Next time, I think I am going to stick with my 50-50 method for the sponge.  I'll add 4 oz. of flour and 4 oz. of water, and add 3 oz. of water when I add the rest of the ingredients.

Having an excess of water in the sponge meant that it didn't rise to double its original size.  I don't think that's a problem, since there was still evidence of yeast activity.  The sponge was nice and bubbly when I added the rest of the ingredients, but I'd be more confident in the timing of the sponge if it were twice as big.  Adding some water to the rest of the ingredients also gives me something to work with if I need to encourage the last bits of honey out of a near-empty bottle.

I think I am going to take my starter off of its diet, as well.  Next week, I am going back to the feeding regimen of 4 oz. of water and 4 oz. of flour.  I'll be throwing out some starter every week, but it is only a waste of 3/8 of a cup of flour.  I might go back to trying to do something with the discards, but I think my starter will be healthier with a more robust feeding.

The Result

Call me shorty.

It's supposed to look more like this:


OK, it appears that my task of perfecting this recipe is going in the wrong direction.  This loaf is about half the height that it ought to be.  I think this is destined to be croutons or bread pudding or something.  I'm jumping right into my plan for improving on this, tomorrow.  I've already taken my freshly-half-ration-fed starter out of the fridge.  I discarded all but 4 oz. and fed it with 4 oz. of flour and 4 oz. of water--a full feeding.  Tomorrow, I'm trying it, again.

I think I am going to cut the salt back to 1 tsp.  In the pre-sourdough days of this recipe, I increased the salt, because the dough was rising too much, and then falling back.  That's not the problem here.

Here are a few more pictures to show the scale:
The bread along with a can of liquid bread.

This picture gave me an idea of what to do with this loaf.  I've been nursing a wrist injury for a little while.  This loaf will make a handy 1½ pound weight for wrist curls.

Next: Tomorrow's version.  Spoiler alert: It still isn't right.